This site contains affiliate links. I may be compensated in some way, or receive a commission or free test product, (at no additional cost to you) for sharing these links. My opinion will always be honest and true, and I will only recommend products and services that I use, or have tried and approve.
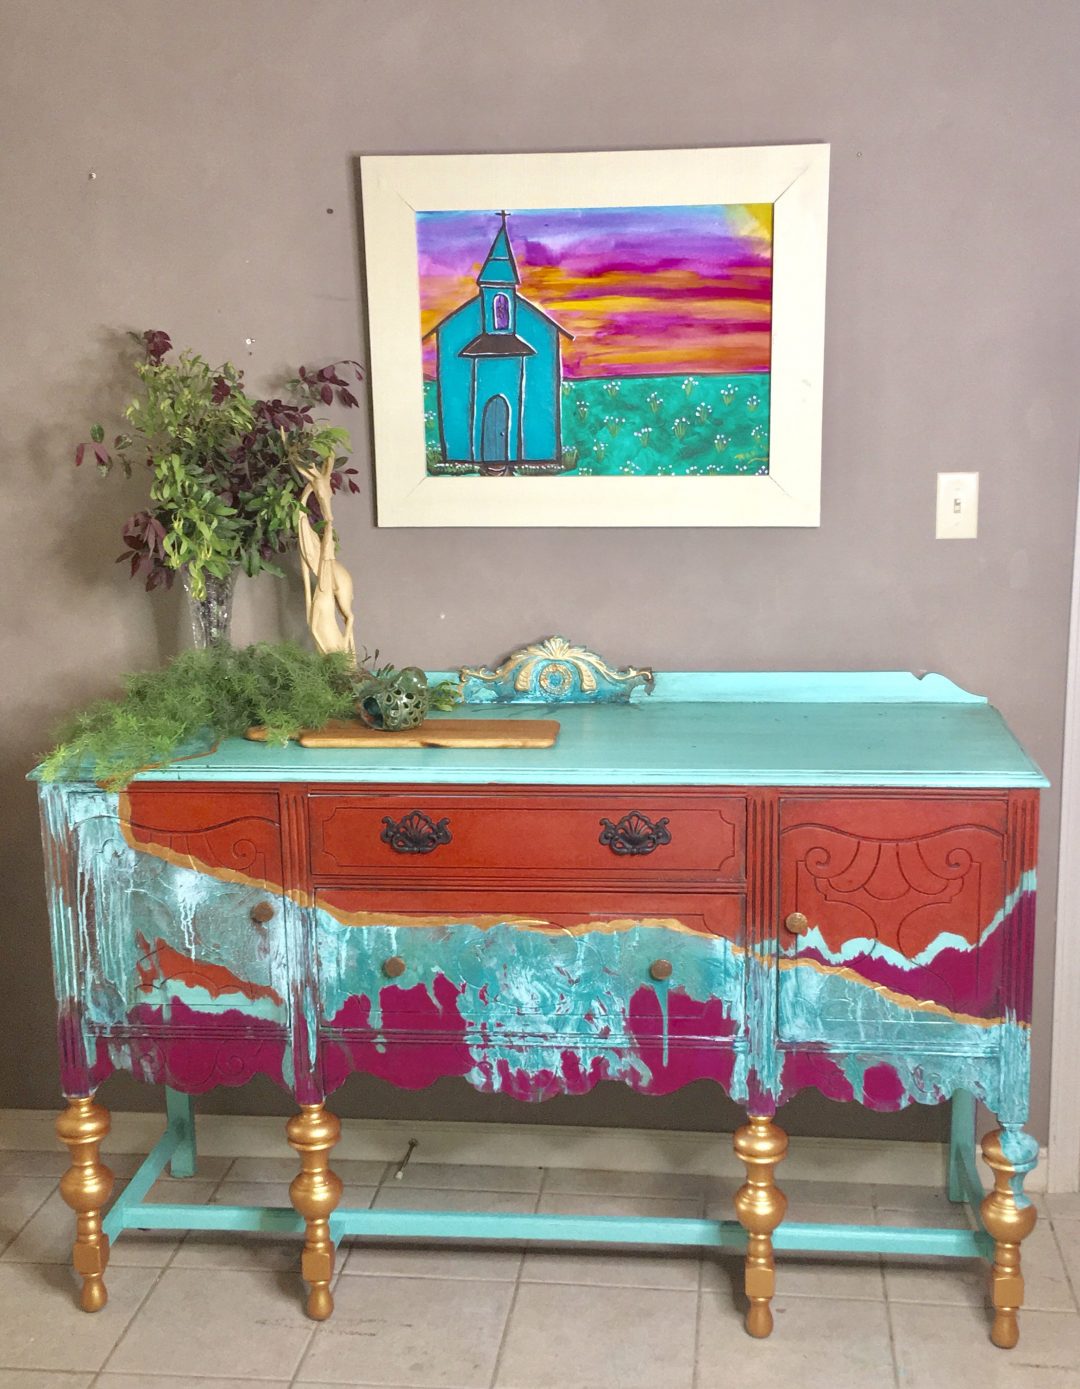
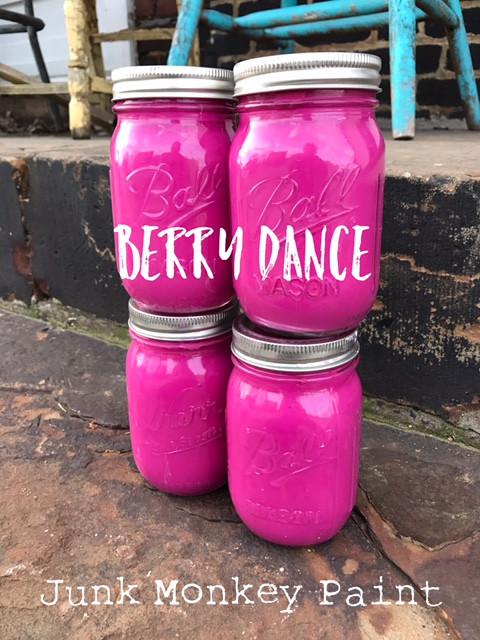
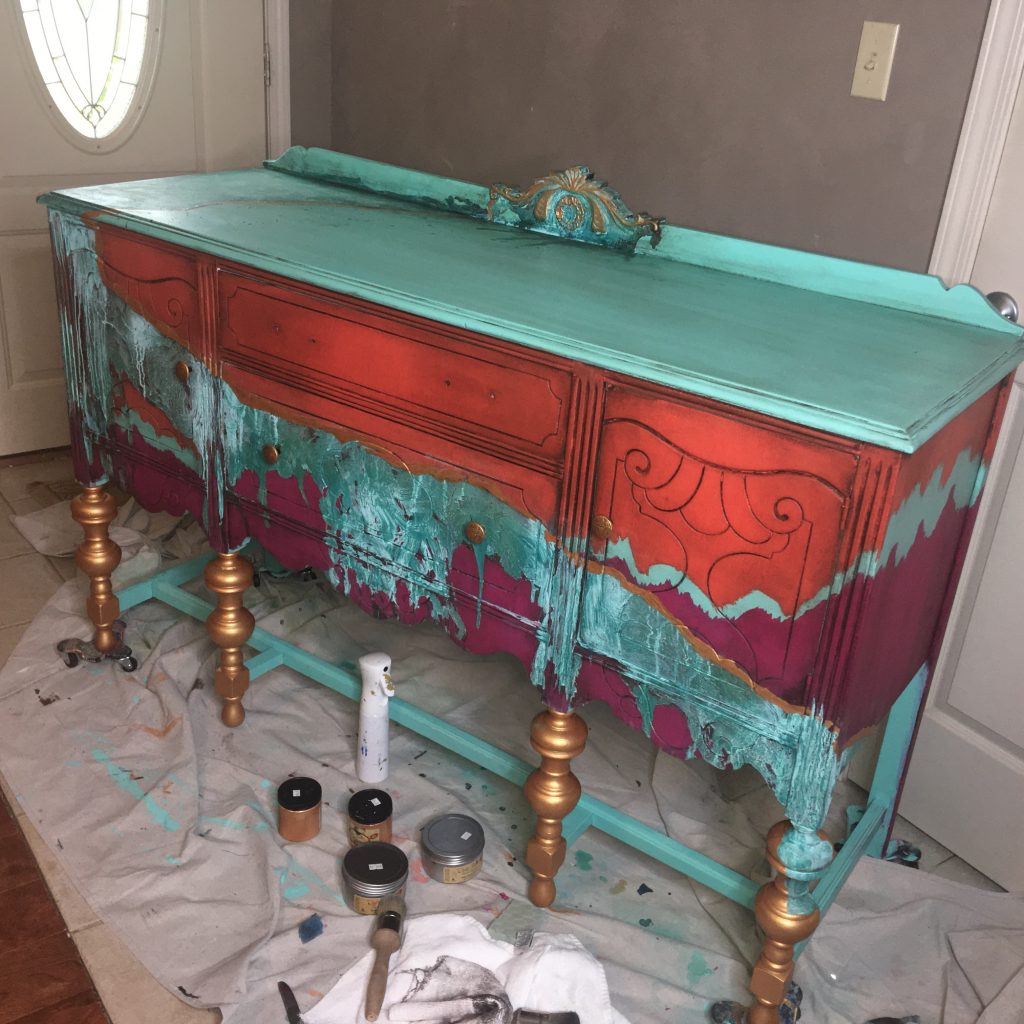
I was very excited to start this finish, I had it in the back of my mind for a while. I was really waning to try the bright color palette from Junk Monkey Paint (Crazy Eyes and Berry Dance), and I am so in love with copper patina, I just knew that it would work. Kinda.
I was also scared that it would be garish and bright and people would shield their eyes from it while they ran in terror.
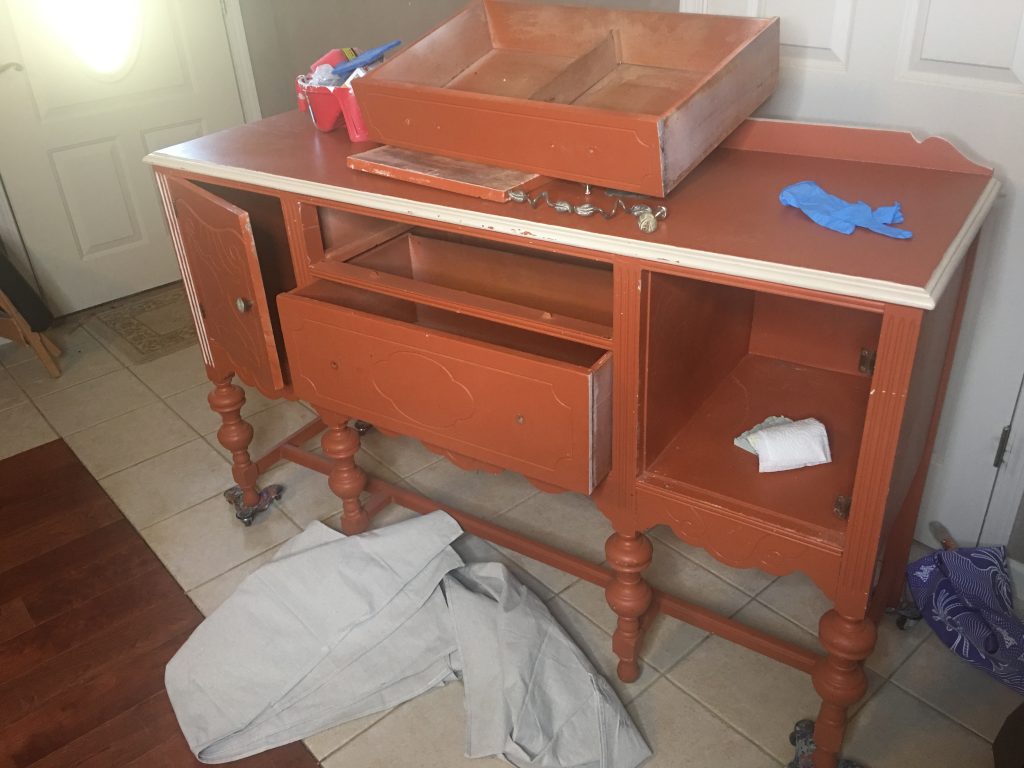
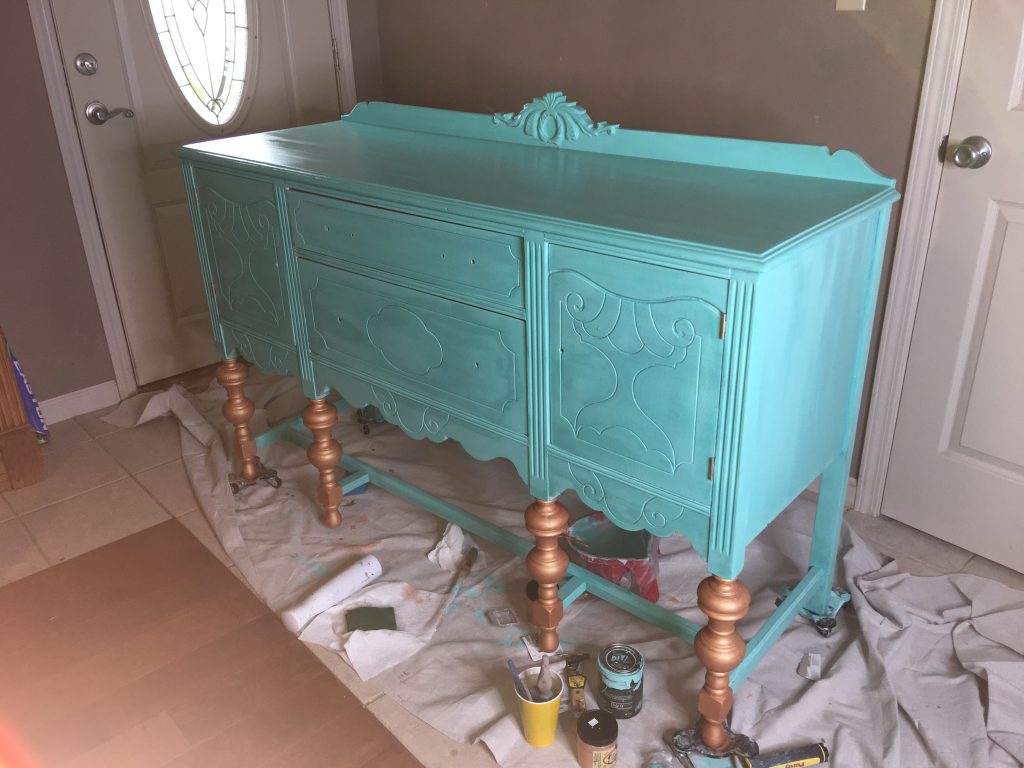
Every painting girl wishes to run across a beautiful buffet and create a masterpiece, right? As least in my circles they do. I love buffets, I have my grandmother’s old buffet in my sun room, and I painted it a few years ago. I saw two buffets on Facebook Marketplace, recently, and I don’t know what got into my husband, but he suggested that I buy them both!! I made an offer (too high, but I was excited) and the seller accepted it, and we picked them up. Of course, they both needed a little work, and what looked like a wood finish on one was an already painted surface, but there was no turning back now! 2 buffets, whoop whoop!
I decided to do one bright and cheerful, and one more subdued, and their styles really led to that being a good idea. This is the first one.
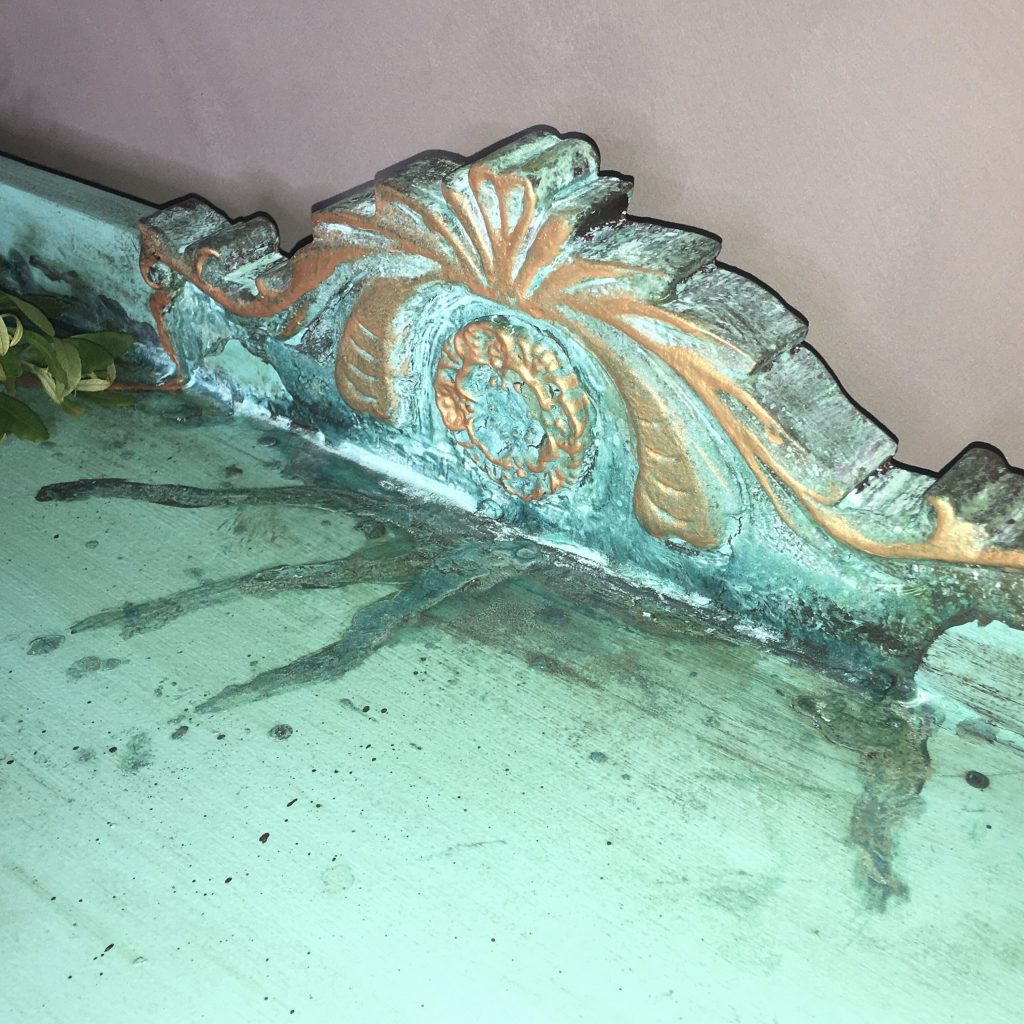
My inspiration for the actual design came from Michelangelo’s famous God and Adam’s hands, as far as the layout of the patina. I did not want to mimic the style exactly, but it was what I had in the back of my mind when sketching out the design. (I must admit, I tried adding the fingers and hands, rather abstractly, admit looked ridiculous, but the inspiration was still there.)
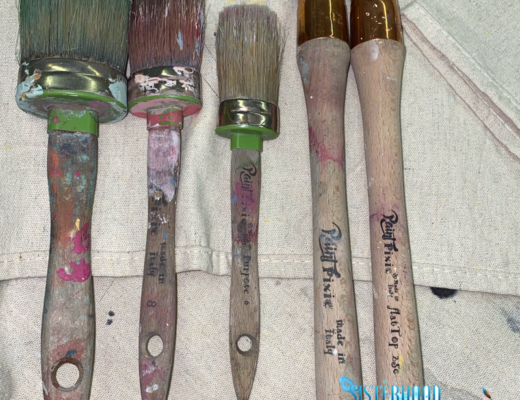
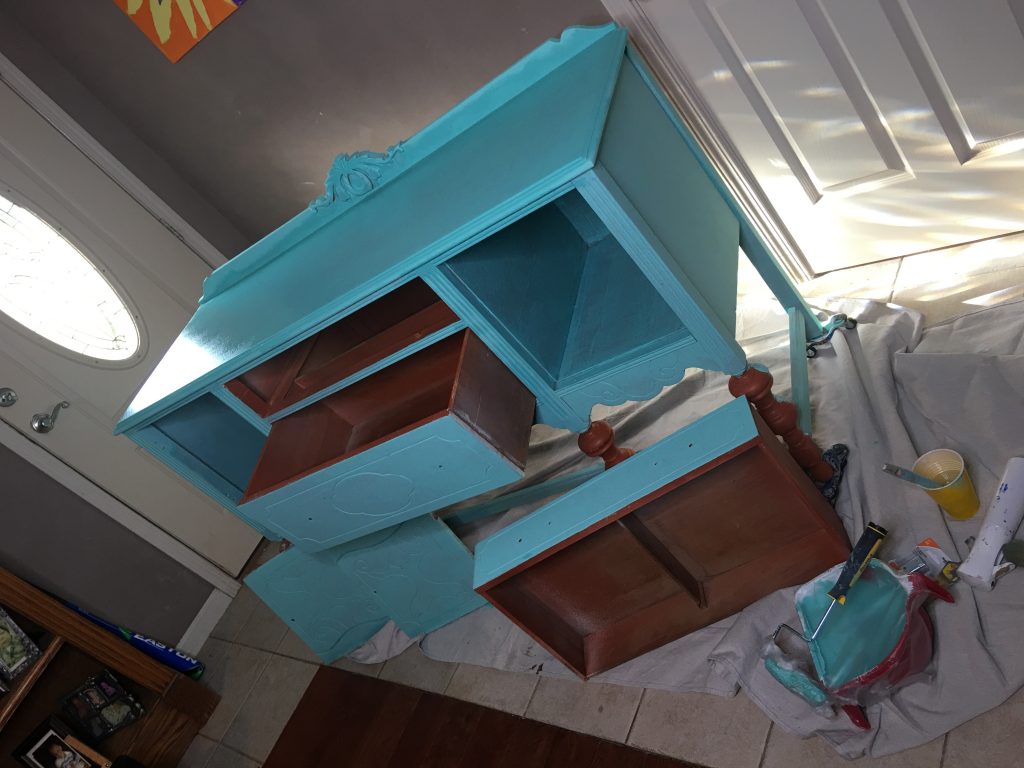
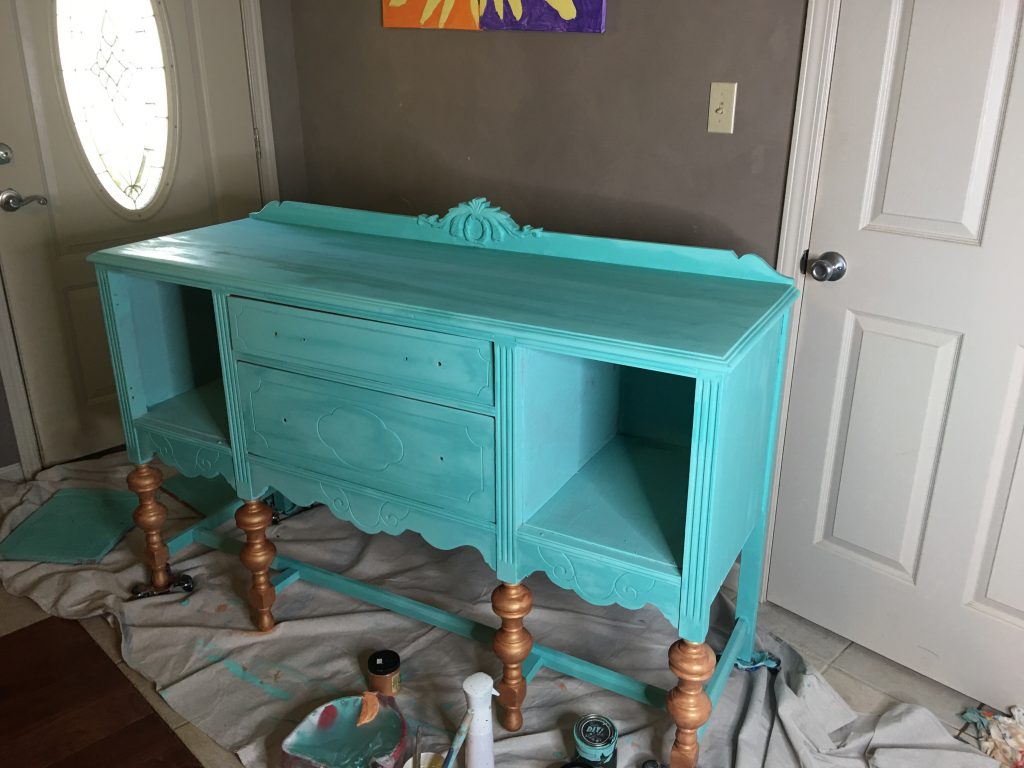
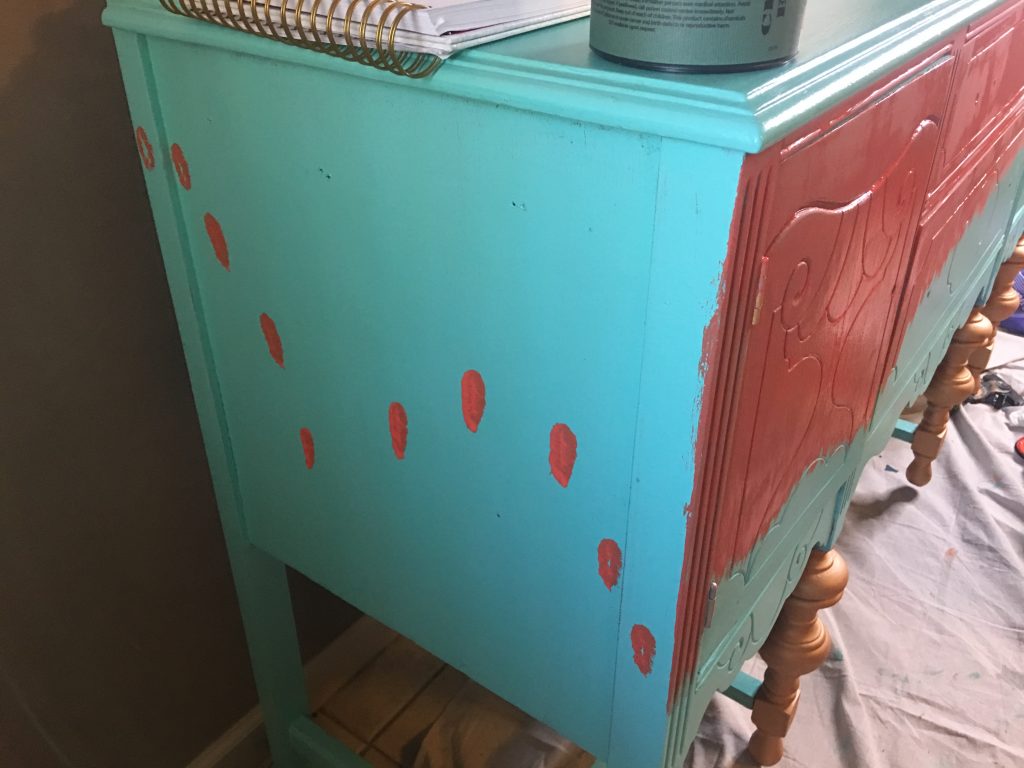
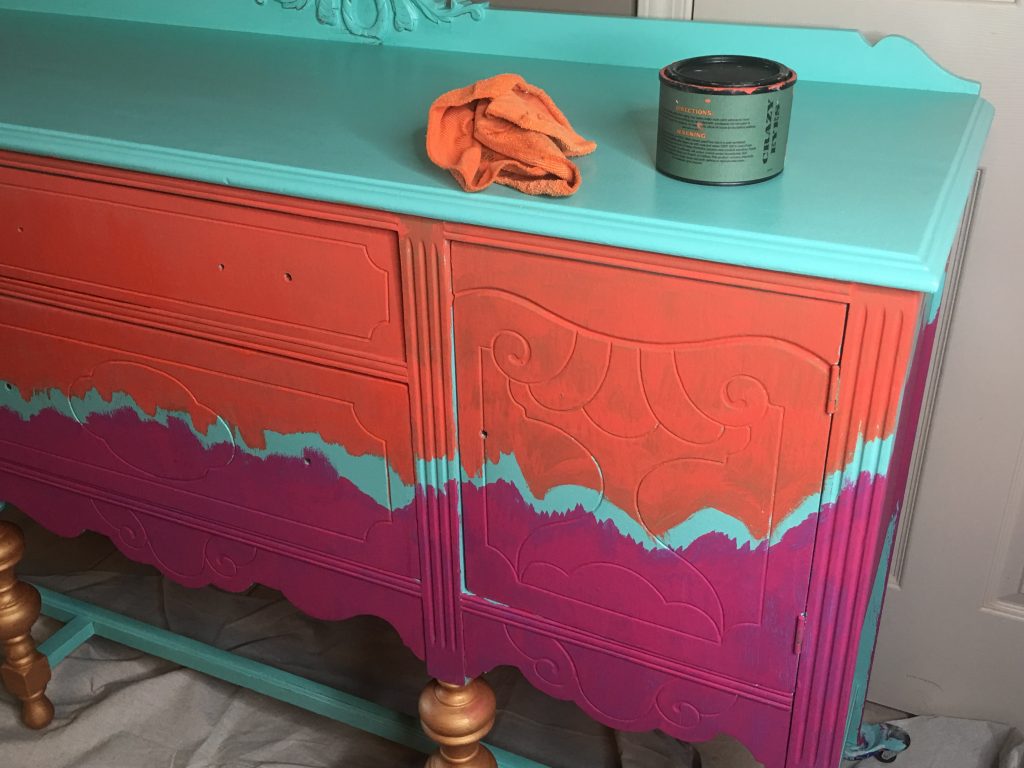
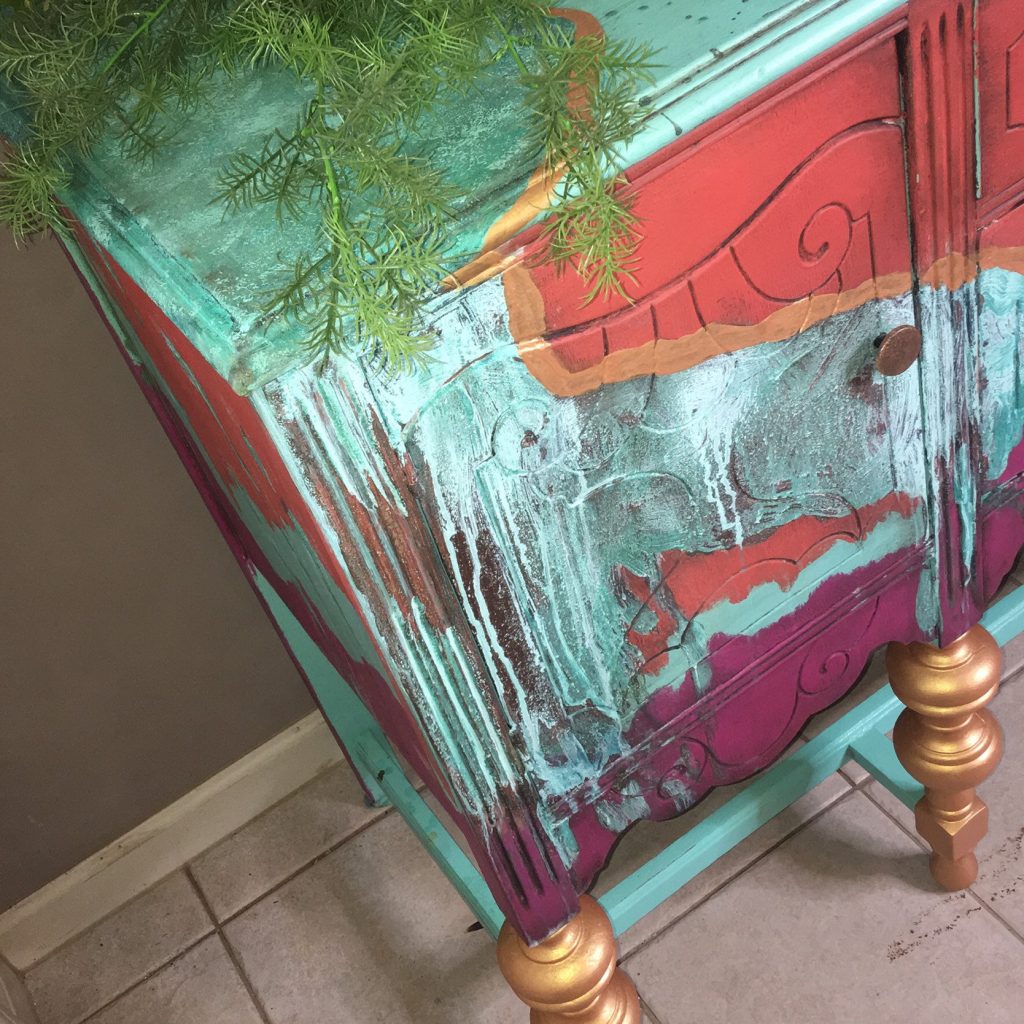
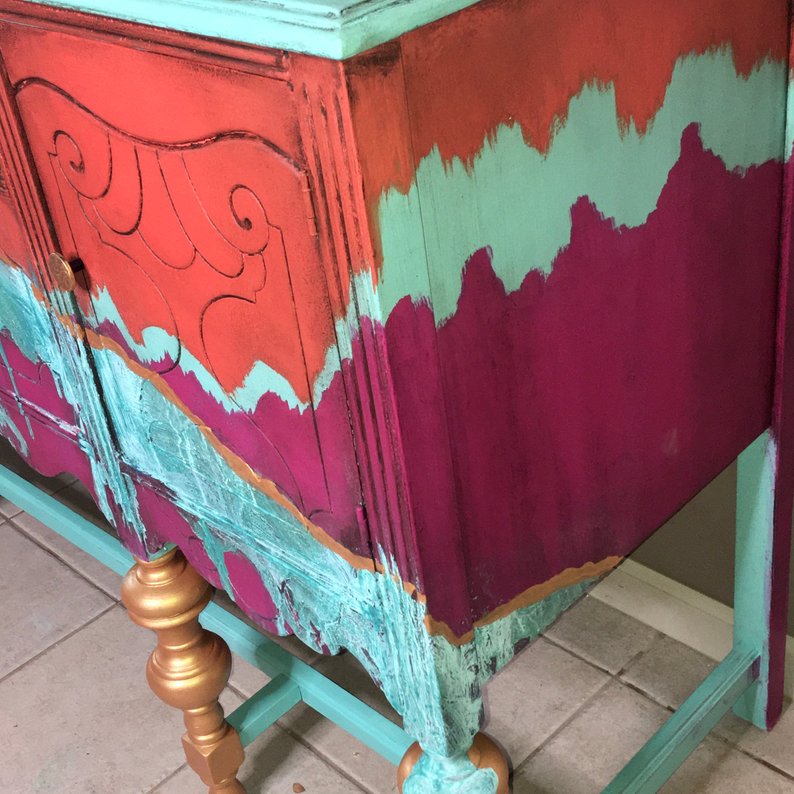
My inspiration for the rest of the buffet came directly from the Junk Monkey Paint colors. I knew that I wanted the top to be teal (I ended up using DIY Old ’57 for that, I forgot to order the Misty Aqua from Junk Monkey in time) and the legs to be metallic copper (Dixie Belle Paint’s two-part metallic copper paint). I visualized the orange Crazy Eyes coming down at an angle from the left, and the Berry Dance coming up higher from the bottom right, and a lighting bolt of teal in between. My lightning bolt looked more like Charlie Brown’s t-shirt design, but I loved the whimsy. (I used Dixie Belle and Paint Pixie Brushes) (Dixie Belle, DIY Paint and Paint Pixie Brushes available in my store.) Now, on to the project:
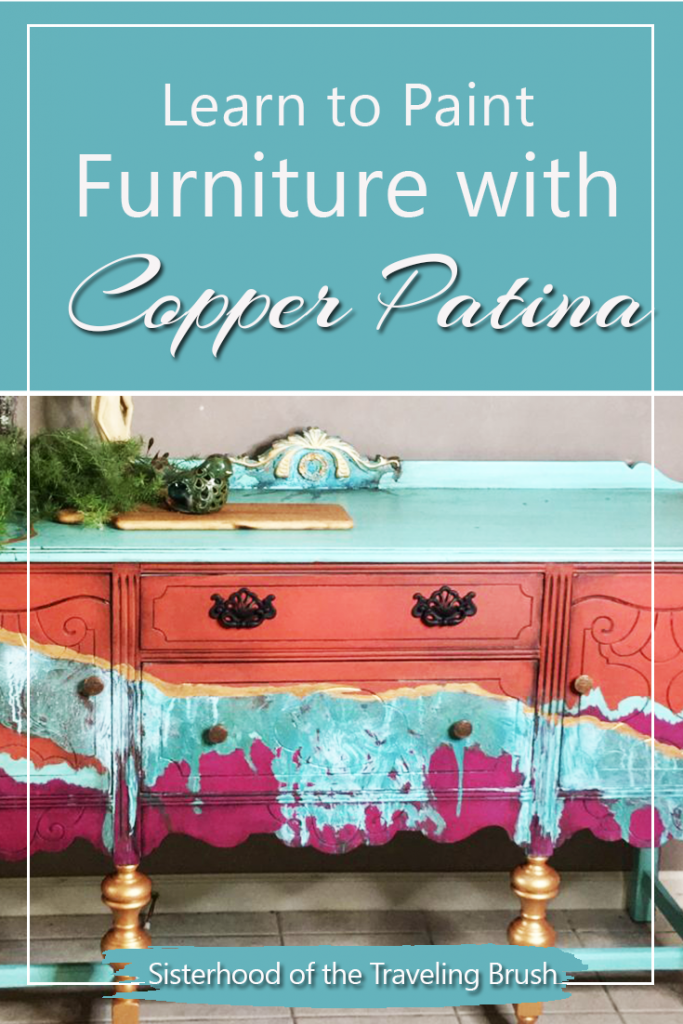
This was probably the most fun that I have had painting a piece of furniture. The freedom to do whatever the heck I wanted was amazing. I know that it is not everyone’s cup of tea, but it was an awesome experience, getting to play with several paint brands, ( DIY by Debi’s Design Diary, Dixie Belle Paint Company, and Junk Monkey Paint Company, and Rustoleum spray paint on the hardware!) as well as metallics and patina, dark waxes and top coats, all on one amazing piece of furniture.

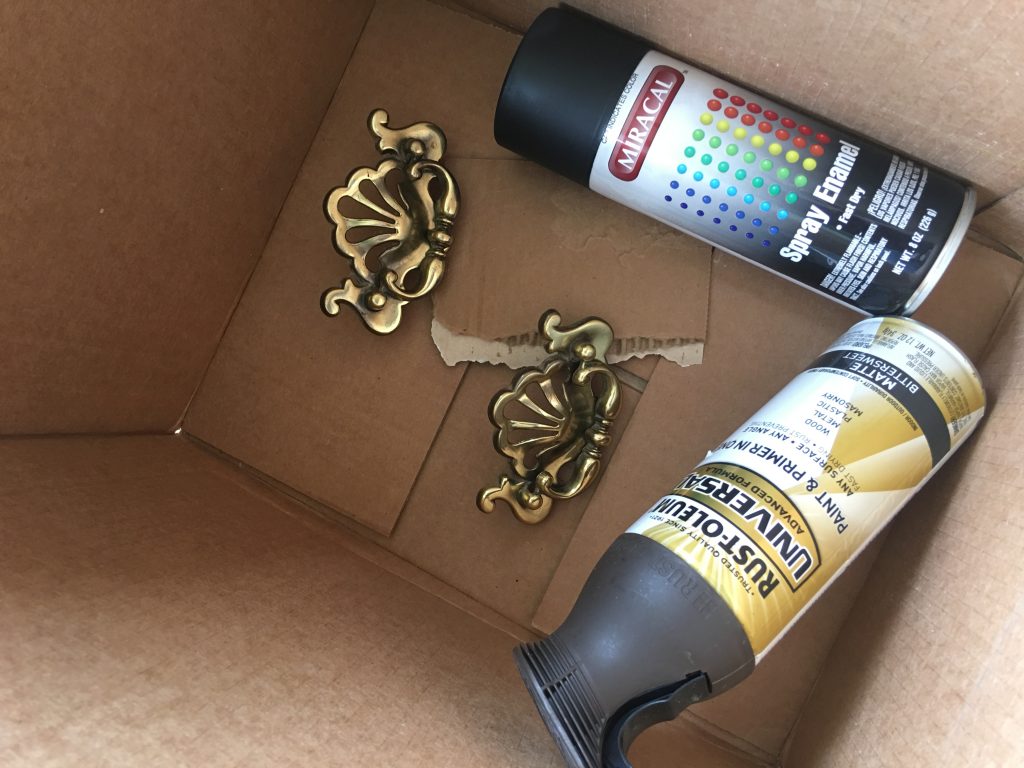
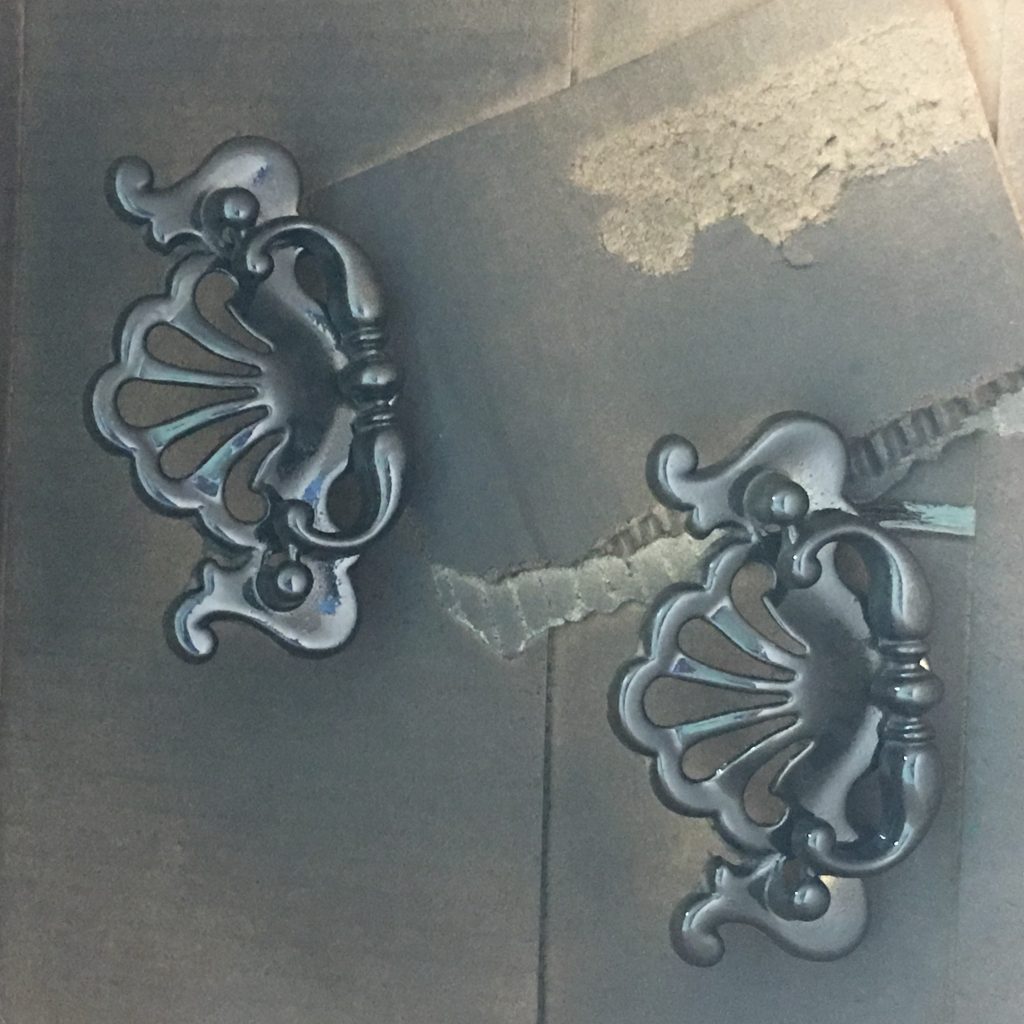
The first thing I did was remove the hardware, and the handles that came off of it were inappropriate for the style, so I went junkin at the local flea market until I found a set of drawer pulls that I liked. I used the original knobs. I spray painted the brass-toned pulls black first, to deepen their color, then misted them with what was left in a can of deep brown. Read my post here, about painting the knobs.
The next step is cleaning the piece to remove old dust and residue, and I used Dixie Belle White Lightning. You can use TSP, as well. Don’t skip this step. You don’t want to chance your finish having issues later and having to sand and repaint!
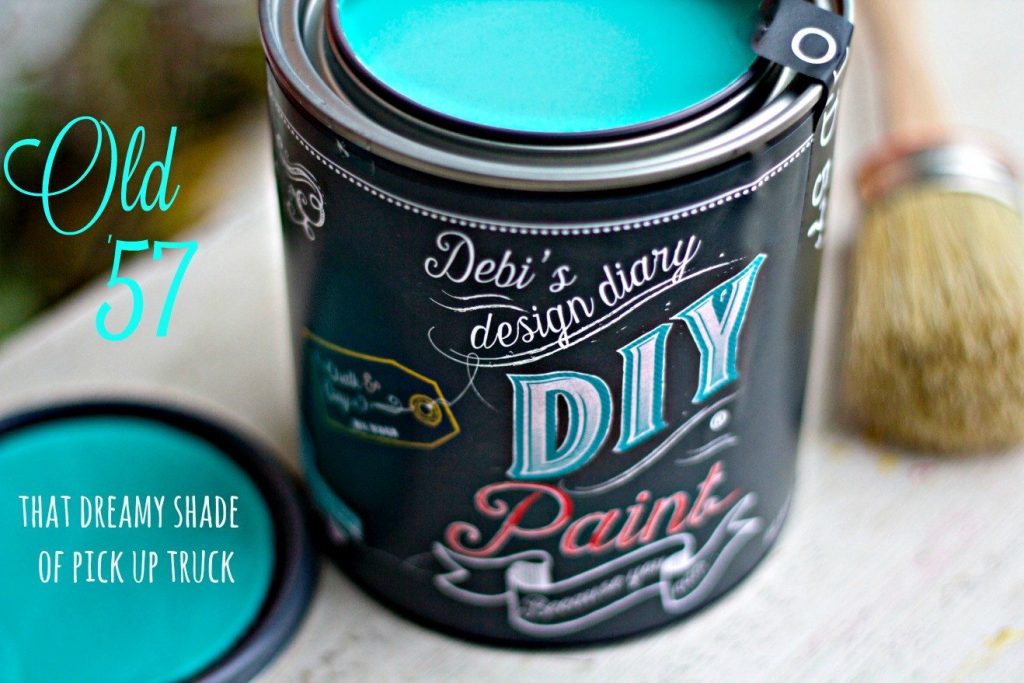
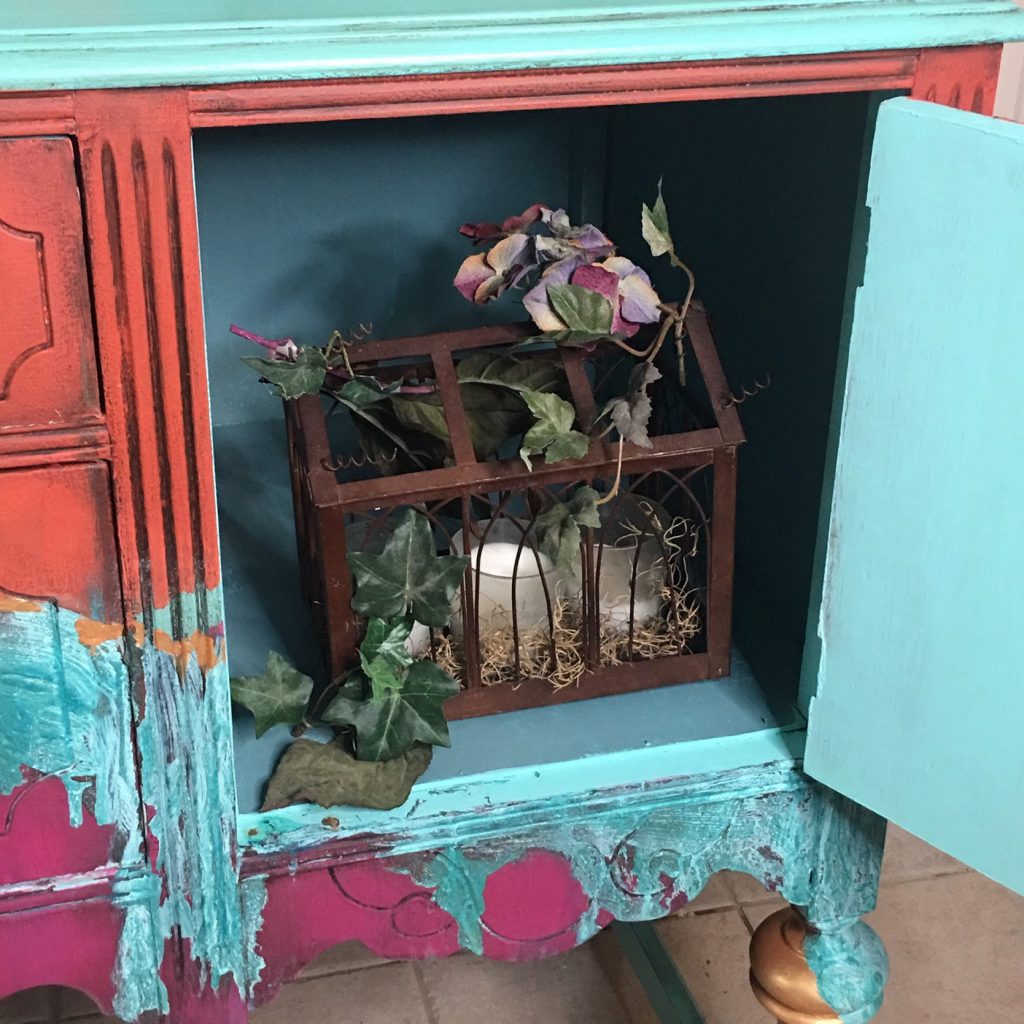
I added DIY Old ’57 as my base-coat on the exterior, rolling it on for a smooth finish. I used some old paint of a similar tone for the interior of the doors. I normally would not have painted this area, but would have left it as bare wood, but it had been previously painted a terracotta color by the previous owner, and it would not match the piece at all.
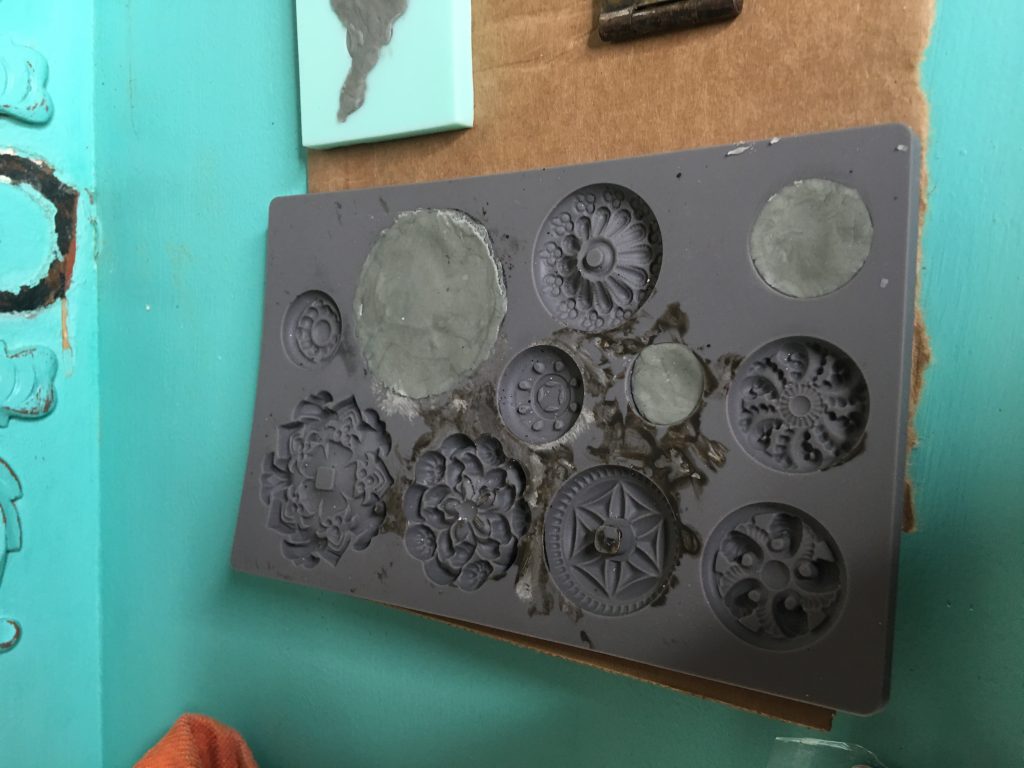
There was also a broken piece on the decorative embellishment on the back piece. It reminded me of a worn out pineapple. I used a multi-tool and cut it out, and created a more suitable one with an IOD Mould and Apoxie Sculpt. I then glued it on with wood glue, then painted over it when it was dry.
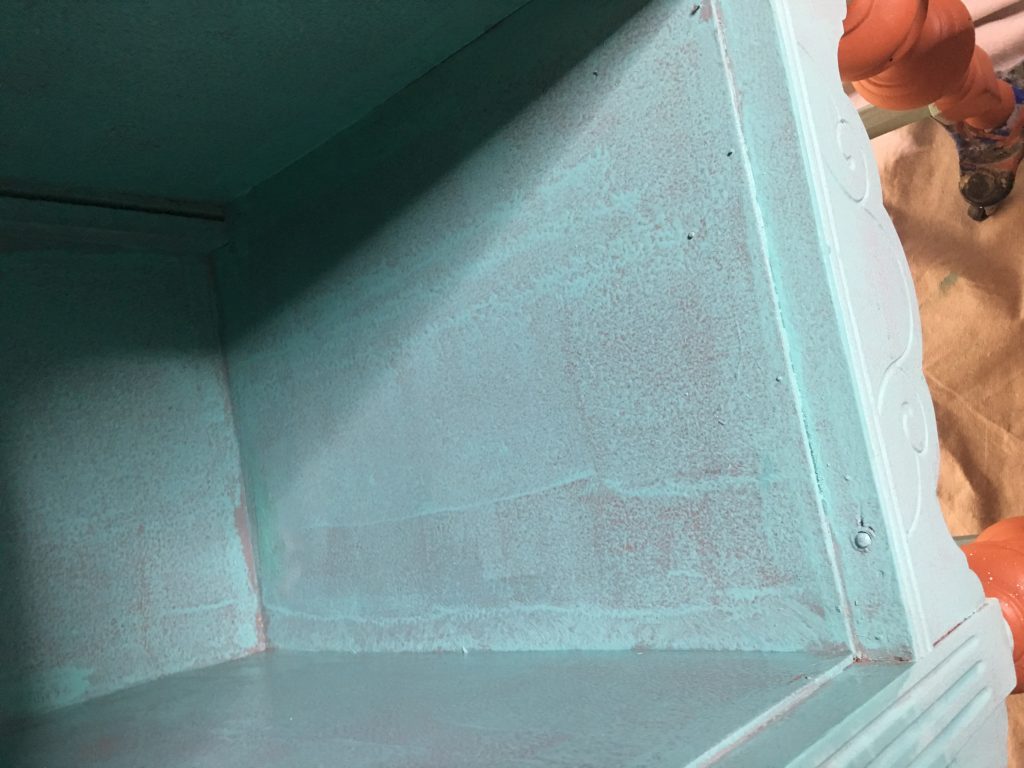

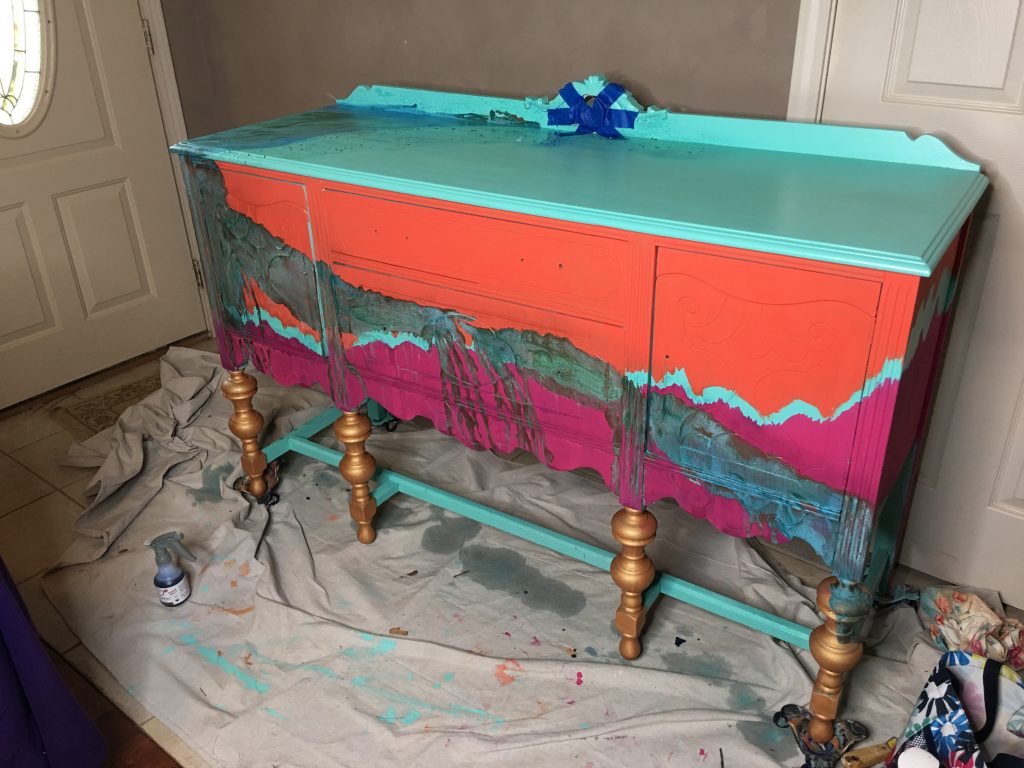
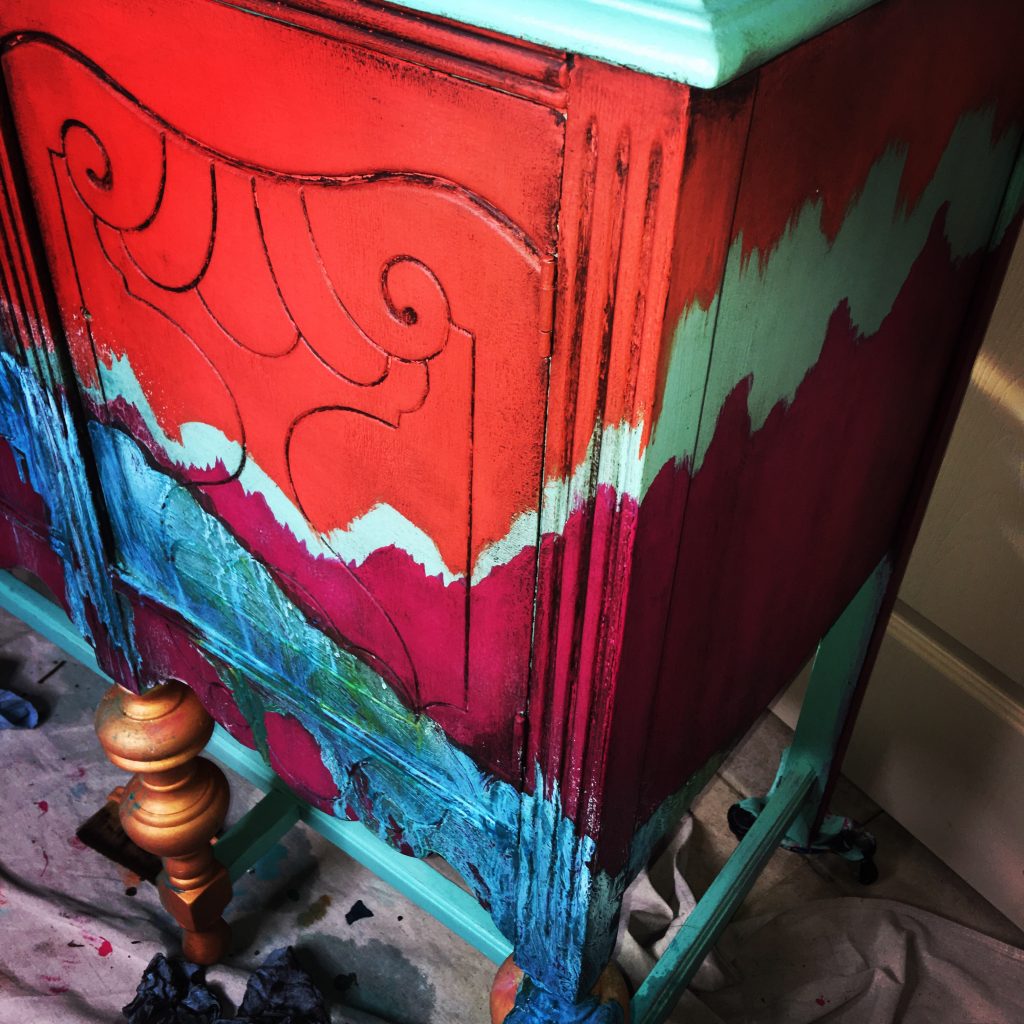


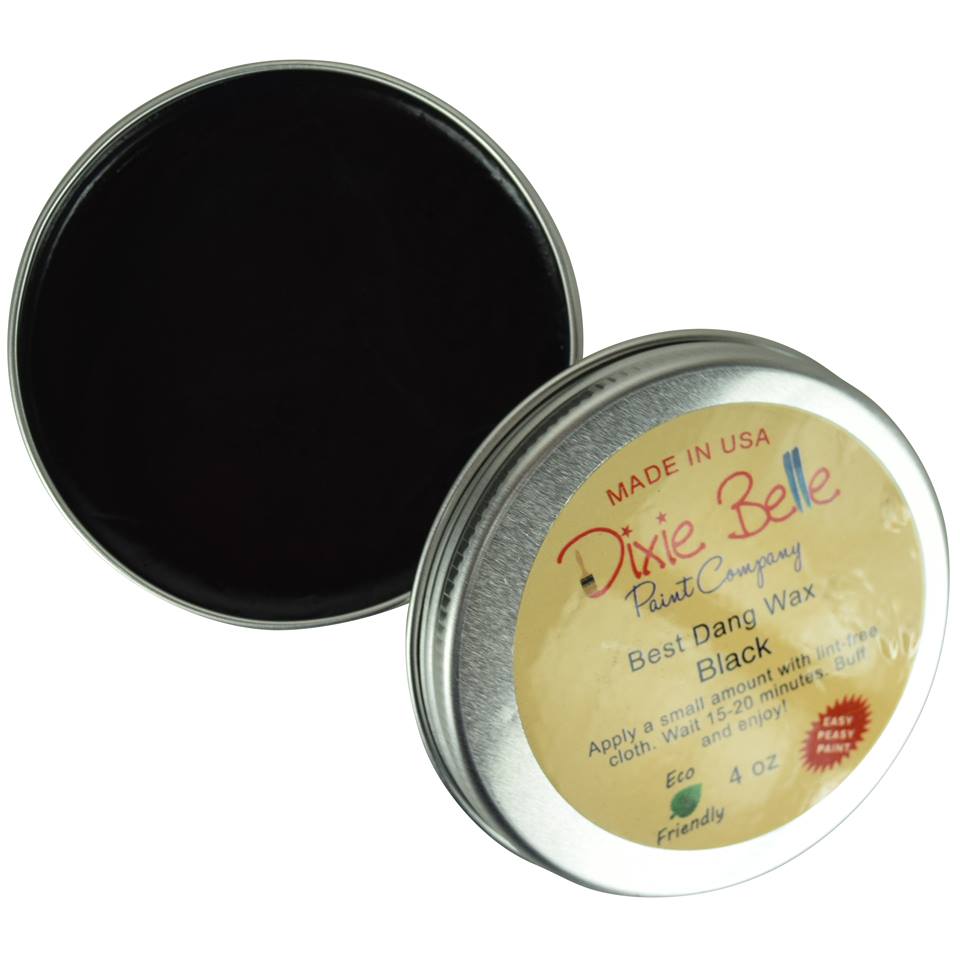
To tone down the brightness on the piece, and give it some age, I used Dixie Belle Black wax in the crevices to make them stand out. There was going to be so much going on, that the toning down was really important. Always apply clear wax before dark wax, so that you can easily remove any excess.
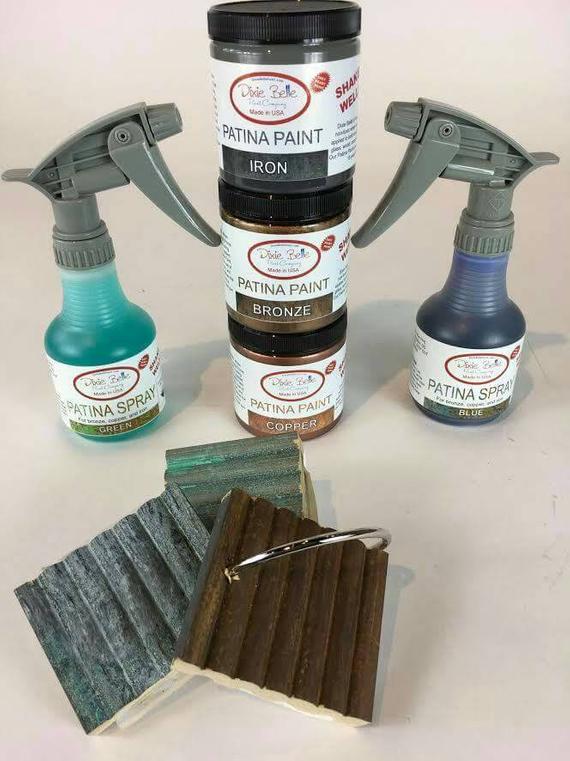
I ended up with 2 coats of the copper patina. I put a topcoat over it to stop the patina process, and it changed the color too much. I really wanted the powdery patina look, so I added another coat. I really thought it needed a little shiny copper above the patina line to indicate where the patina was running from, and to tie in the legs. I just free-handed it on with an artists brush from Blick Art Materials, using the Dixie Belle copper.


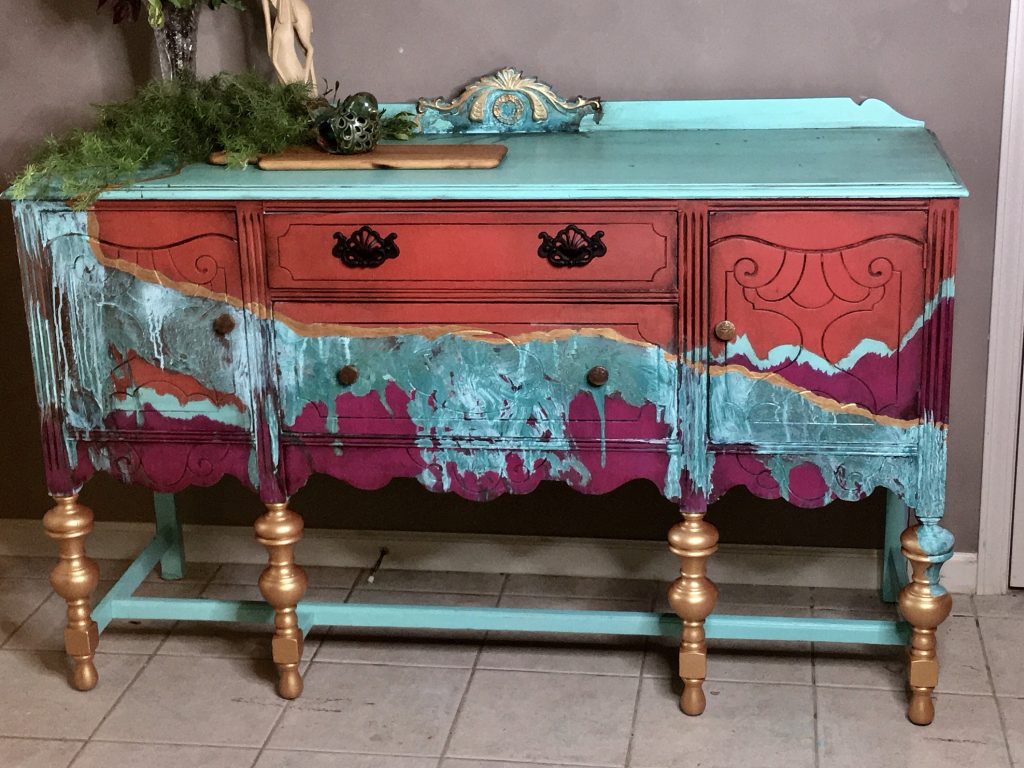
All-in-all, I was very pleased with how it came out! I videoed the entire process, 25 videos in all, and those videos are available for $27 in my Etsy store, if you want to create a similar finish!
I would love to see your finished pieces! -Terri